
By Chrystal Dawn Fitzgerald
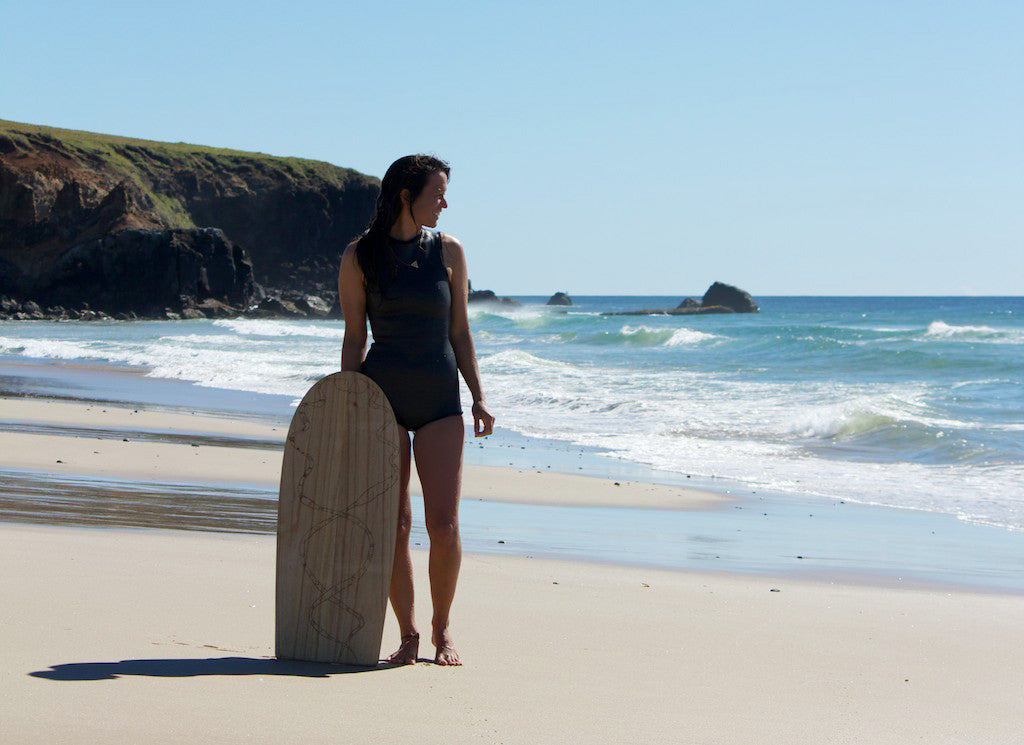
Growing up in Hawai'i the birthplace of modern day surfing, and watching my husband shape boards I have always wanted to shape my own craft. When the opportunity to hand make a Paipo, with master craftsman Andy Ceglinski at his Wooden Anchor workshop in Byron Bay came up, I said YES and jumped right in.
PAIPO, BRIEF HISTORY
For those of you new to the term, a Paipo is a small surfboard designed for riding waves whilst lying on your belly. These unique wave riding crafts are also known as belly boards and many experts believe they originated in Hawai'i'. Although they can be shaped from foam and fiberglass, traditionally Paipos are shaped from timber. "A Paipo is a board every surfer should have in their quiver," says master craftsman and surfer Jon Wegener, who is in part responsible for the revival of this and other ancient Hawaiian surfing crafts.
THE MASTER
Andy Clingsky is a talented fourth generation woodworker and has a passion for sustainability. He and his wife Holly founded Wooden Anchor and have established a beautiful family business in the Byron Bay hinterland. They operate an environmentally conscious sawmill using sustainable Australian timber to create handmade furniture, a range of collectibles as well as surfing crafts for which they now offer workshops. Andy is a patient and thorough teacher, and his stoke for all things handcrafted is contagious.
THE PROCESS
Like anything, the whole is greater than the sum of all of its parts. That said I will do my best to break down the process by which I made a Paipo with Wooden Anchor. My board is made from sustainable Australian grown Paulownia.
STEP 1. THE OUTLINE OR OVER OUTER SHAPE OF THE BOARD
Each board has and outline for which a template can be used, you can also do this by eye-balling your timber and taking some self-measurements to decide what size best suits your goals and height/weight ratio. Andy uses a template he has made from one of his original hand shaped Paipos.

STEP 2. SHAPE YOUR BOARD
Once your outline has been drawn it is time to start cutting back the wood to fit the outline. If you are using a flat piece of wood this can be much easier than a big log, however the process is the same. As the artist, Michelangelo said of stone, "Every block of stone has a statue inside it and it is the task of the sculptor to discover it." The same applies to wood...
Andy showed me how to use these incredible hand tools which slowed down the process to a delightful human pace. A most enjoyable experience indeed. Power tools can be used, which expedite the process, though I do feel something valuable would be missed in doing so. As a woman, it felt great to hold and handle these handmade planers, and the satisfaction of creating the shape of the concaves and rails with them was unexpected.
*Planers are made locally by Colen Clenton 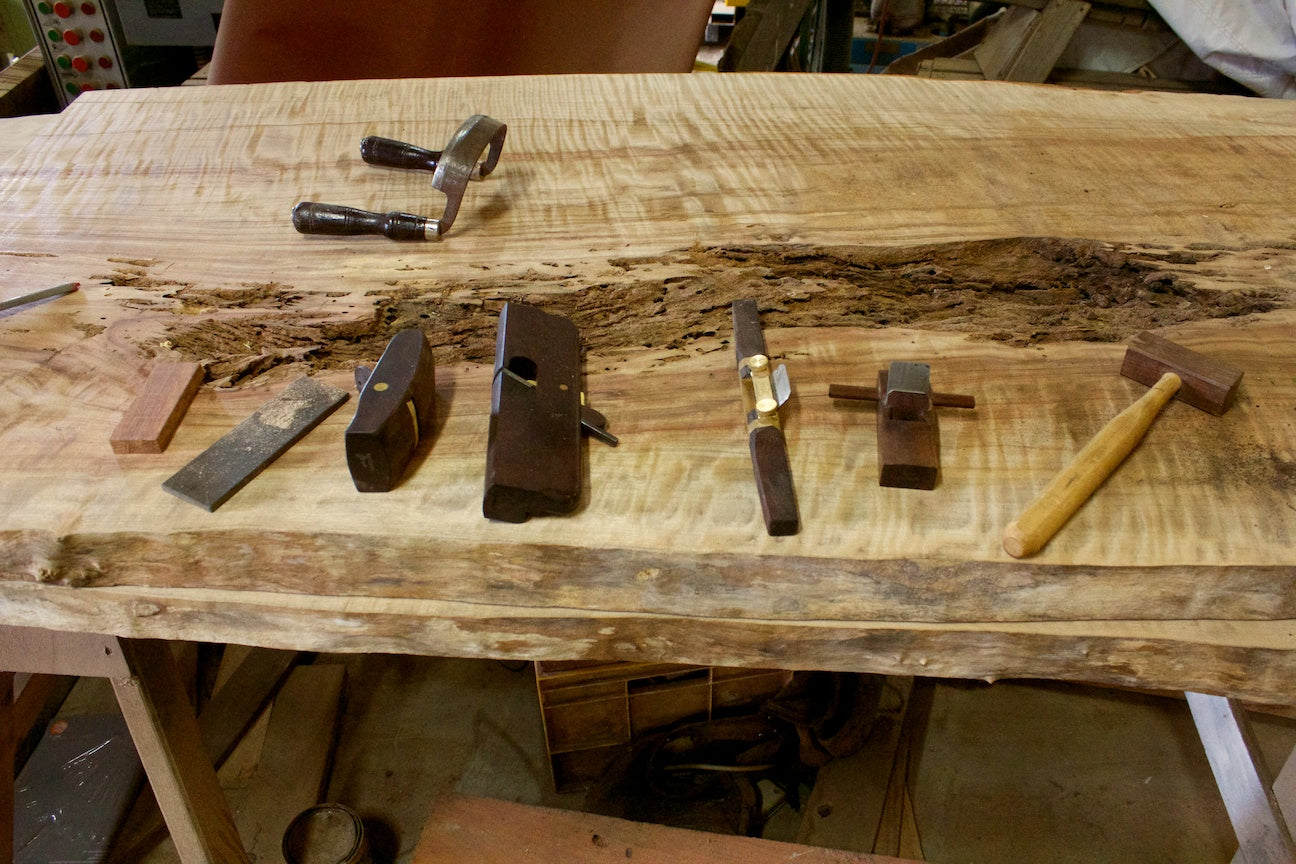


STEP 3. DECORATING :)
When shaping my Paipo at the Wooden Anchor workshop, two Python snakes came for a visit. Entangled in a hypnotic dance, they made their way from the rafters to the floor and back moving with determination and strength. Their energy inspired my wood burning. The art of wood burning is something to be admired, I found it to be challenging, and opted for a simple design...


STEP 4: WAX UP AND SURF!
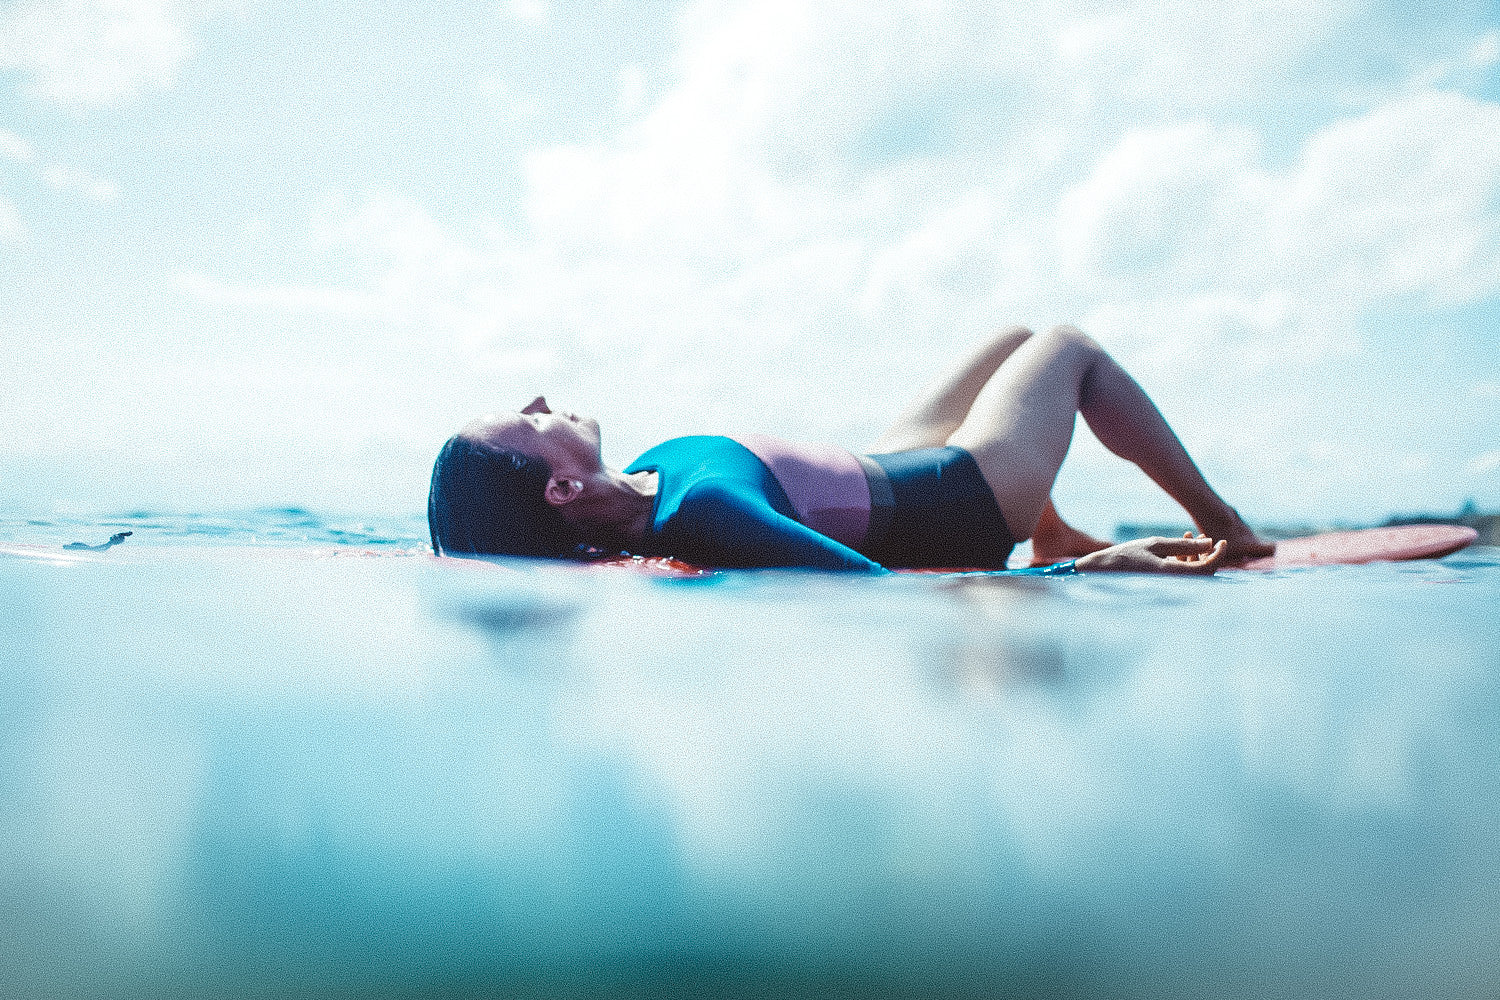
Unsurpassed joy filled my heart as I waxed up my handmade craft, preparing it for the maiden voyage. Paipos don't really need much wax in my experience, yet a little organic Beesknees surf wax never hurts and for riding bigger waves on your Paipo, waxing up is recommended.


STEP 5. SHARE THE STOKE!
Get out and share the good vibes and stoke of riding your very own handcrafted sustainable surf craft! The more people see and surf these fun machines, the sooner the lineups will be smiling.
Gather with friends, plant a tree, wait for it to grow, harvest it and then start crafting, or buy some sustainable Paulownia wood from your local woodsniffer (self given name for woodworkers).
If you are like me and want to do everything, yet knowing where to start and how to keep on task is challenging then I recommend you book into one of Wooden Anchors "How to make a Paipo' workshops. Materials and tools will cost near the price of a workshop and DIY on your own may take much longer.
Since I enjoyed making my Paipo so much I am now keen to get more experience and help others handcraft their own boards! My friend Alice Forrest and myself will be assisting Andy in his upcoming Wooden Anchor "Paipo" workshop on Oct. 29. Click here to find out more.
Big Mahalo Nui Loa to Andy, Holly and the Wooden Anchor crew for having me at the mill as well as sharing your knowledge with me. I am stoked and very grateful for this new journey with shaping and riding my own wooden crafts!
Photos by Chrystal Dawn and Joel Fitzgerald. Location Byron Bay Australia. Workshop Wooden Anchor. Tools H.N.T Gordon & Co. Wax Beesknees Surf.
MORE DIYS
5 comments
David Haughton
I’ve just found this post a few years after you wrote it. There’s a great surf scene here in Cornwall where I live and finding more sustasinable ways to live and play is at the forefront of all our minds. I’ve fallen in love with the idea of making hand made Paipos here… So this was really inspiring. I think Birch Ply will be the best starting point. Looking forward to get shaping. Thanks!
I’ve just found this post a few years after you wrote it. There’s a great surf scene here in Cornwall where I live and finding more sustasinable ways to live and play is at the forefront of all our minds. I’ve fallen in love with the idea of making hand made Paipos here… So this was really inspiring. I think Birch Ply will be the best starting point. Looking forward to get shaping. Thanks!
Timothy Hanohano
MAHALO A NUI LOA,
Timothy Hanohano
MAHALO A NUI LOA,
Timothy Hanohano
Steven J Pepe
I just made a hand plane with some old redwood. Now I’m making a paipo. I guess anything goes in regards to shape. I’m wondering if I should bend the nose up for rocker/
I just made a hand plane with some old redwood. Now I’m making a paipo. I guess anything goes in regards to shape. I’m wondering if I should bend the nose up for rocker/
Paul McHugh
Aloha Chrystal,
What do you coat your Paipo with ?
Also, I made a 48" long Paipo . I’m 6’ 2" 212 pounds. Do you think this is to small for my size ?
One other thing I’m 74 years young. The stand up surfing is over because of bad knees.
Mahalo !
Paul
San Jaun Capistrano,Ca.
Aloha Chrystal,
What do you coat your Paipo with ?
Also, I made a 48" long Paipo . I’m 6’ 2" 212 pounds. Do you think this is to small for my size ?
One other thing I’m 74 years young. The stand up surfing is over because of bad knees.
Mahalo !
Paul
San Jaun Capistrano,Ca.
James
Nice tutorial. You definitely need swim fins, otherwise you won’t catch any wave. Also, if you can’t get Pawlownia, plywood is fine too, you don’t need the board to be buoyant since it will skims over the water surface like a skimboard, that’s what makes the paipo speeder than the bodyboard.
Nice tutorial. You definitely need swim fins, otherwise you won’t catch any wave. Also, if you can’t get Pawlownia, plywood is fine too, you don’t need the board to be buoyant since it will skims over the water surface like a skimboard, that’s what makes the paipo speeder than the bodyboard.